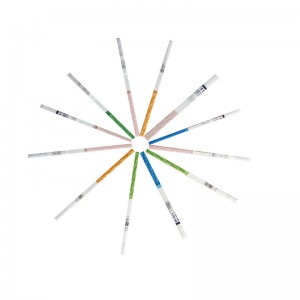
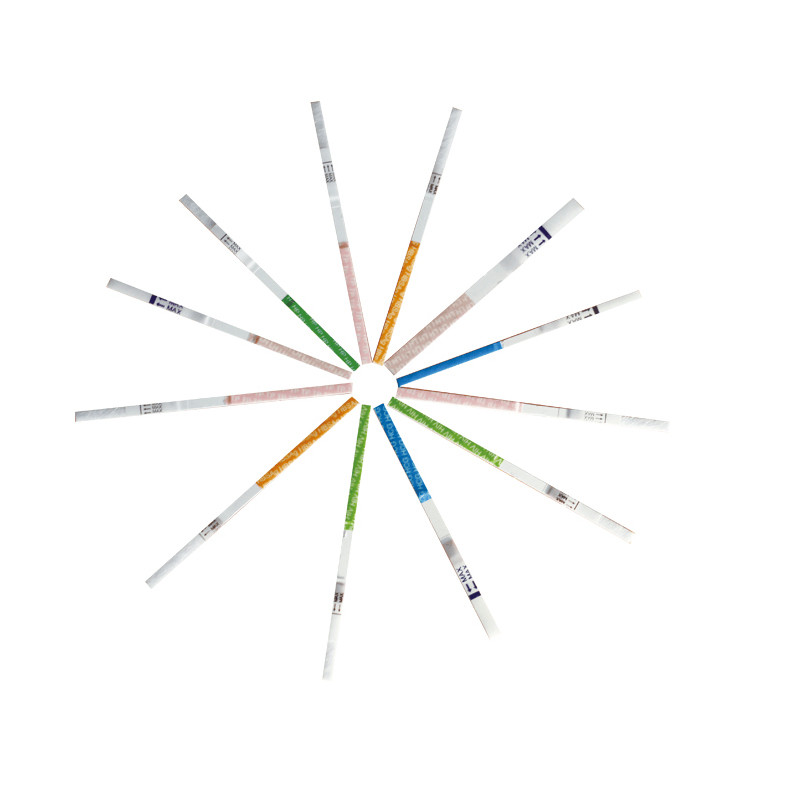
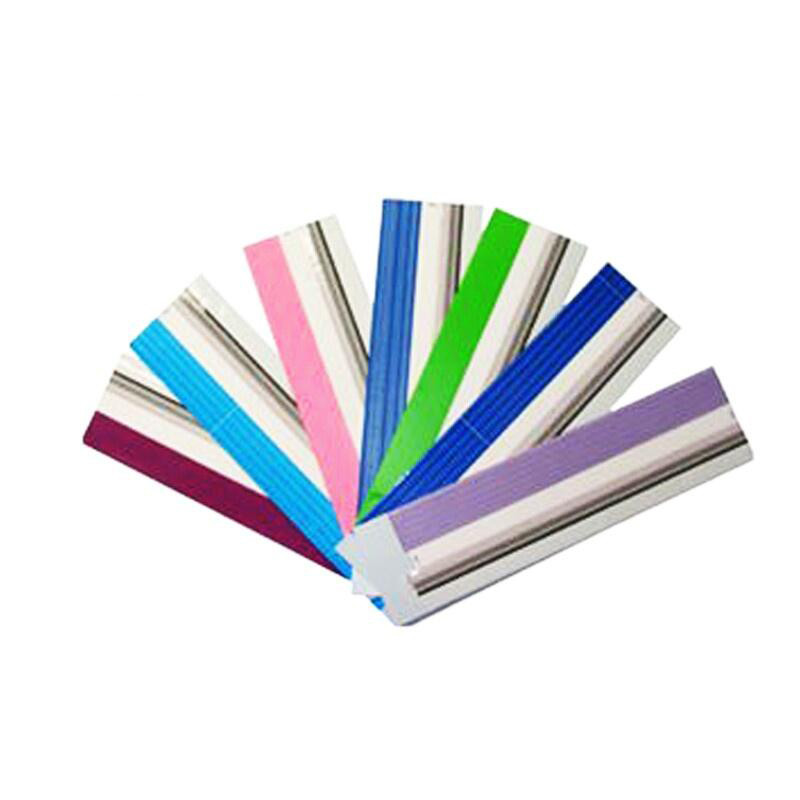
Diagnostic kit for Gastrin 17 uncut sheet


1. INTEDED USE
The Gastrin-17 (G-17) Rapid Test Device (the "uncut sheet" format for manufacturing use) is a fluorescence immunochromatographic assay intended for the quantitative determination of gastrin-17 (G-17) concentration in human serum , plasma ,whole blood specimens .
This test is intended for in vitro diagnostic professional use and serves as an aid in the assessment of gastric mucosal function and in the screening and diagnosis of atrophic gastritis, particularly in patients with Helicobacter pylori infection or individuals at risk of developing malignant cellular changes in the gastric mucosa .
The device provides quantitative screening results. The test results are intended for clinical reference only. Definitive diagnosis should be based on a comprehensive assessment of clinical presentation and other laboratory findings. The test result should be interpreted in conjunction with other gastric function markers (e.g., pepsinogen I/II ratio, H. pylori antibody status) and clinical guidelines. Low G-17 levels indicate risk of gastric antral atrophy; high G-17 levels indicate risk of gastric corpus atrophy.
This product is intended for use by trained healthcare professionals or laboratory personnel. This product is for manufacturing use only and is intended for further processing into final device format.
2. PRODUCT SPECIFICATION
| Model No. | G-17 Uncut sheet |
| Methodology | Fluoresscence Immunochromatographic Assay |
| Sample Type | Serum,plasma,whole blood |
| Time to Result | 10-15mins |
| Storage | 2~30 ℃/36~86℉ |
| Shelf Life | 24 months |
| Certificate | ISO13485, CE Certificate, UCKA MHRA Certificate |

|
Feature • High sensitive • result reading in 15-20 minutes • Easy operation • High Accuracy |
PACKING * 20 bags /CTN * Aluminum foil bag labeling * shrink wrap
|
3.TEST METHOD
| I-1: Use of portable immune analyzer | |
| 2 | Open the aluminum foil bag package of reagent and take out the test device. |
| 3 |
Horizontally insert the test device into the slot of immune analyzer.
|
| 4 |
On home page of operation interface of immune analyzer, click “Standard” to enter test interface.
|
| 5 |
Click “QC Scan” to scan the QR code on inner side of the kit; input kit related parameters into instrument and select sample type.
Note: Each batch number of the kit shall be scanned for once. If the batch number has been scanned, then skip this step.
|
| 6 |
Check the consistency of “Product Name”, “Batch Number” and etc. on test interface with information on the kit label.
|
| 7 |
After information consistency is confirmed, take out sample diluents, add 80µL of serum/plasma/whole blood sample, and sufficiently mix.
|
| 8 |
Add 80µL of above mixed solution into the sample hole of test device.
|
| 9 |
After complete sample addition, click “Timing” and remaining test time will be automatically displayed on the interface.
|
| 10 |
Immune analyzer will automatically complete test and analysis when test time is reached.
|
| Ⅰ-2: Result calculation and display | |
| 1 | After the test by immune analyzer is completed, test result will be displayed on test interface or can be viewed through “History” on home page of operation interface. |
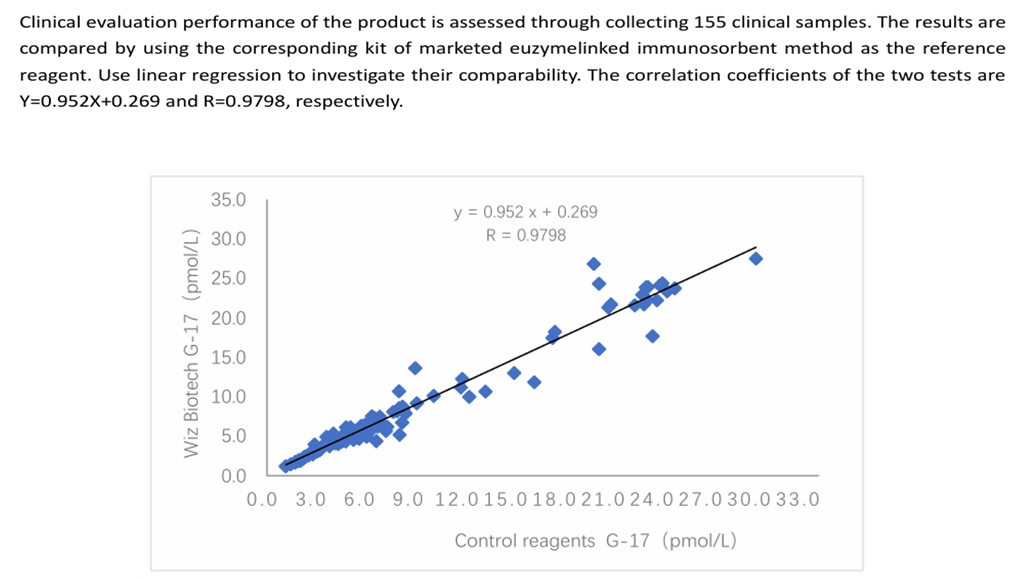
4.CLINICAL PERFORMANCE
5. CERTIFICATE
* ISO System Certificate
* CE Certificate
* EU Registration
* UCKA MHRA Registration
6.EXHIBITION